3.4. Create an API
Creating an API is the first step to building an API. It involves naming and describing an API and allocating it as a SOAP or REST API. For more information on APIs, refer: API.
This short section takes you through the task of creating an API.
In this Section:
Before you begin:
- Make sure you are logged in to the DigitMarket™ API Manager Publisher Portal using your sub-organizational level credentials. To learn about how to log in to the Publisher portal, visit Log in to the Publisher Portal
- If not stated otherwise, the term “API” appearing in this section refers to an API version.
- The fields marked with asterisks are mandatory
Following UI screens are referenced in this section:
APIs screen
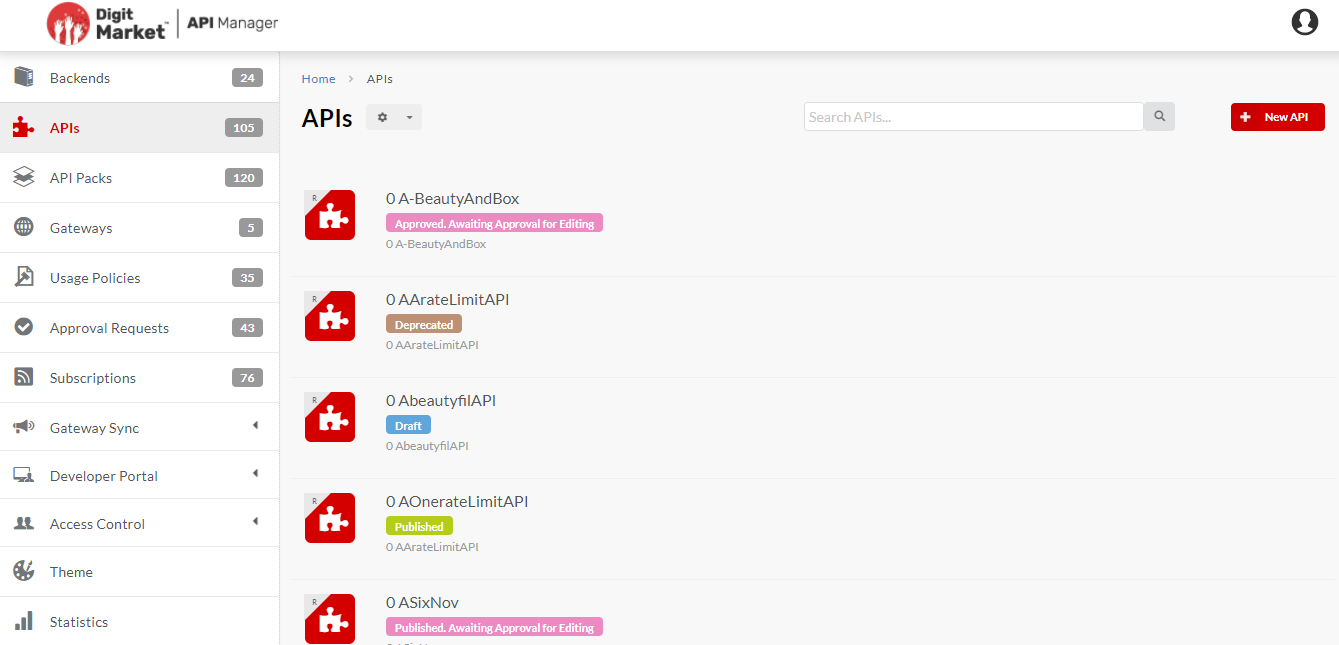
Fig. 3.54 APIs screen
The APIs screen lists all APIs irrespective of whether they are in Draft, Approved or other States.
Add New API
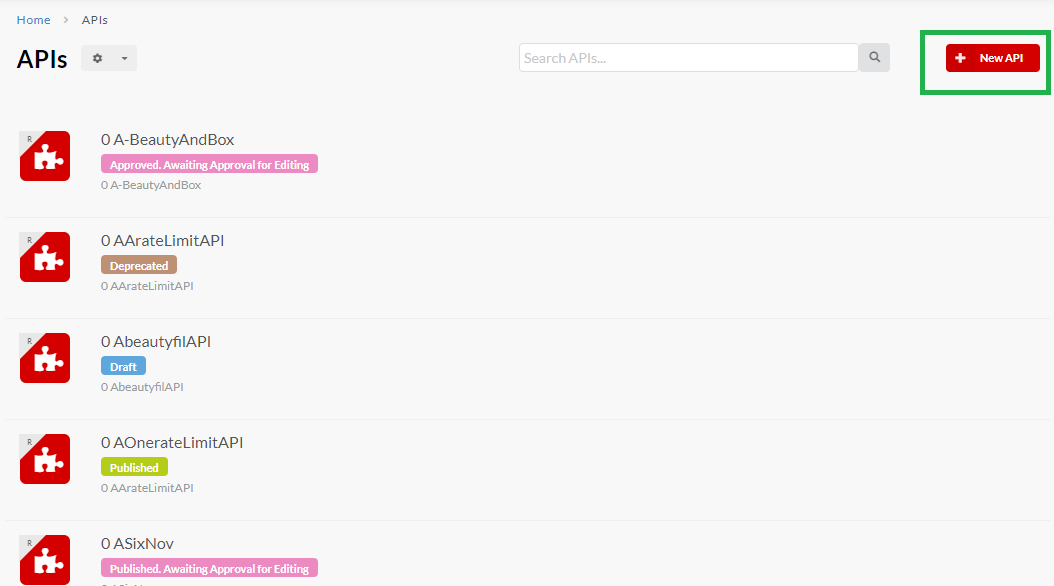
Fig. 3.55 Add New APIs
Steps for adding Rest/Soap API’s
- Navigate to API list page
- Click on addAPI button
- Provide name
- Enter short description
- Select Rest/Soap
- Click on add
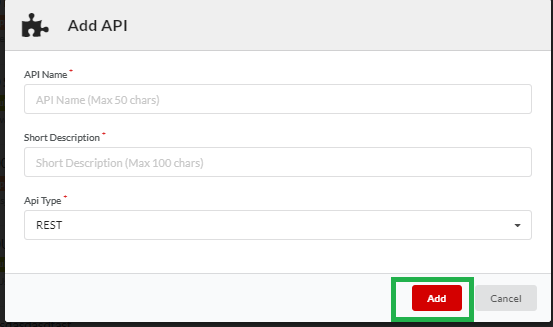
Fig. 3.56 AddvApi form
API Configuration screen
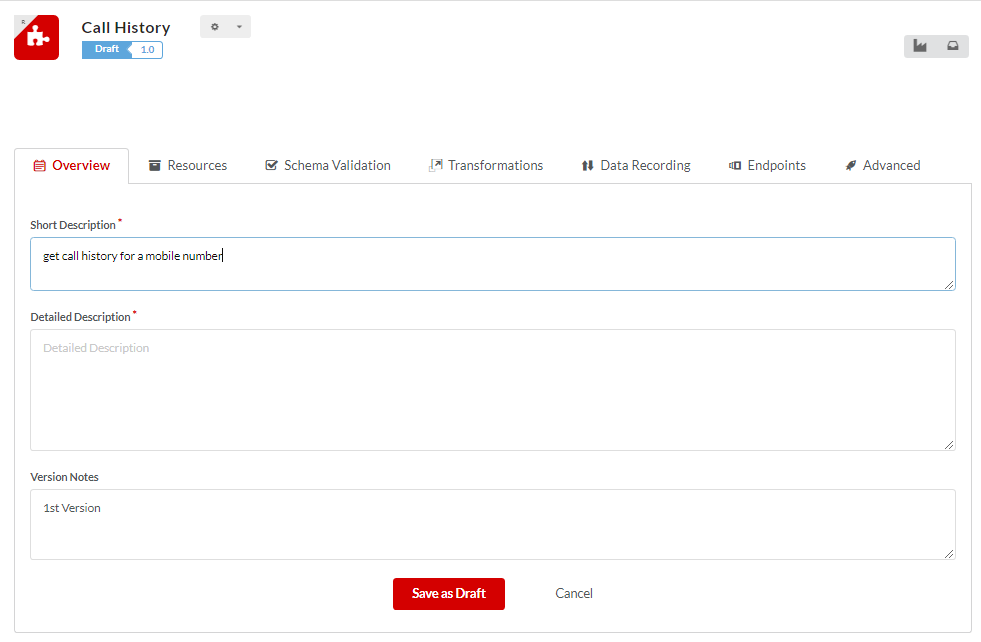
Fig. 3.57 API Configuration screen
Common Tasks
Following are the common tasks identified for this section:
Navigating to the APIs screen
To navigate to the APIs screen:
- In the main navigation menu, click APIs.
The APIs screen displays.
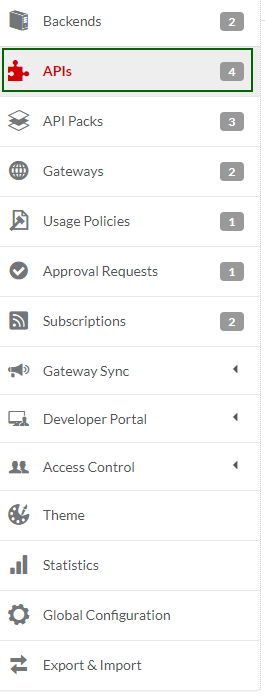
Fig. 3.58 Navigate to API screen
- Alternatively, you can click APIs summary total on the homepage to display the APIs screen.
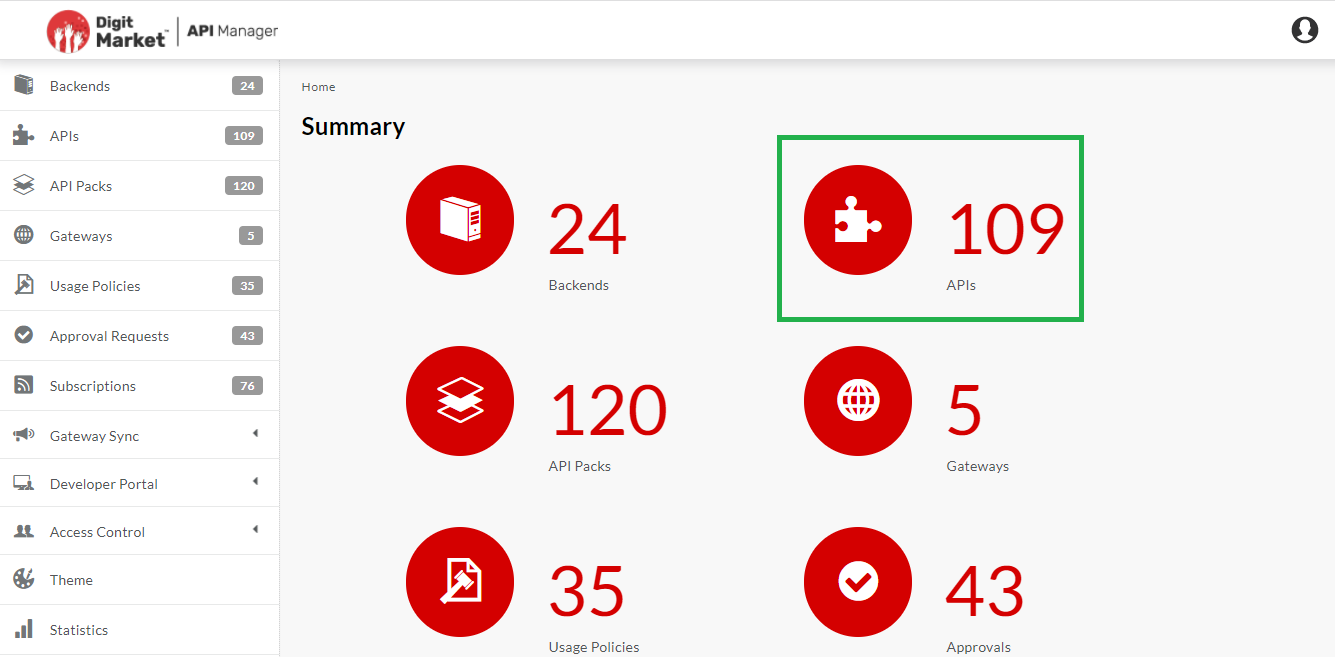
Fig. 3.59 Navigate to APIs screen
Navigating to the API Configuration screen
To navigate to the API Configuration screen:
- Navigate to the APIs screen.
- In the APIs screen, click the row that has the API you want to configure. The API Configuration screen displays.
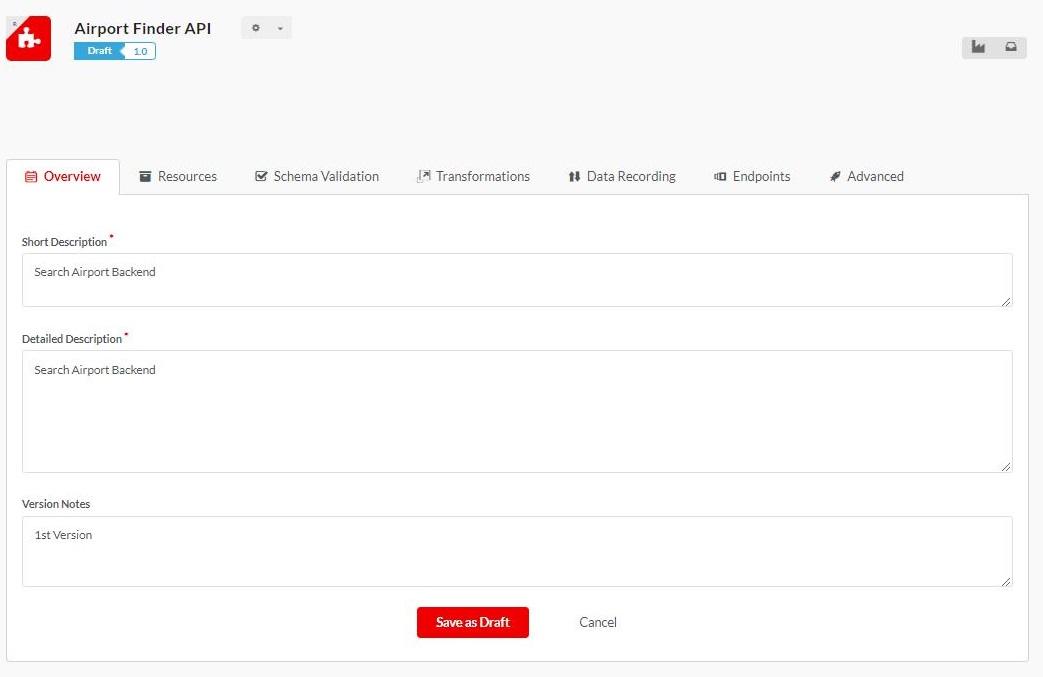
Fig. 3.60 API Configuration screen
The API Configuration screen consists of tabs for adding and editing resources/operations, configuring endpoints, and handling Transformations, Data Recording and Schema Validation. The API Action menu
 allows you manage approval workflows, Versioning and Visibility of an API.
3.4.1. Assign a Name and Type to an API
To assign a Name and Type to an API:
Navigate to the APIs screen.
In the APIs screen, click New API at the top right corner of the screen.
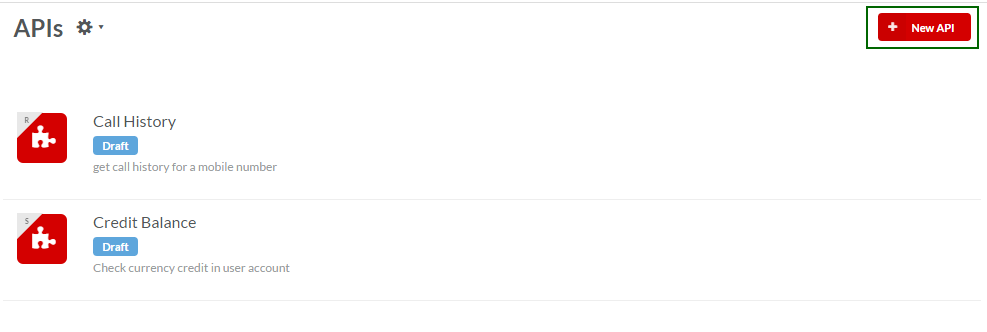
Fig. 3.61 New API
The Add API dialog box displays.
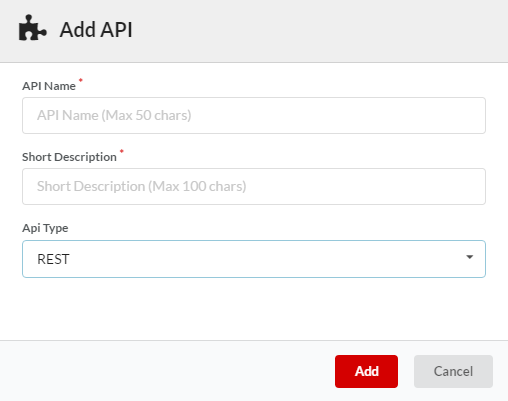
Fig. 3.62 Add API dialog
In the API Name box, type a name for your API.
Type a short description for your API. The short description that you type here is populated in the Short Description box of the Overview tab in the API Configuration screen.
Click the API Type drop-down box to select the API type. You can select either REST or SOAP as the API type.
If you have selected SOAP as the API type, an additional field WSDL spec displays below.
Click Choose File to choose a WSDL file (with extension WSDL) to import from your computer. The necessary objects are generated from the imported WSDL file and populated to the API Operations definition.
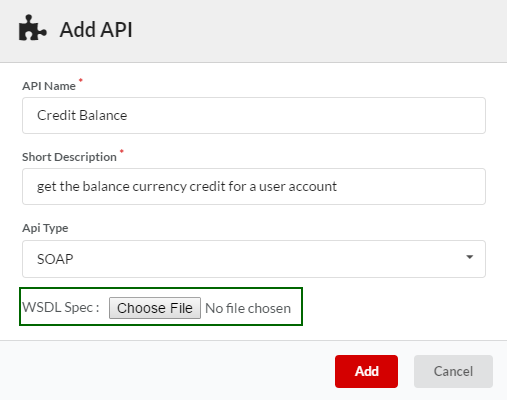
Fig. 3.63 Add new API
To learn more about WSDL files, refer the topic: API.
Click Add to finish creating the API. The newly created API is populated in the APIs screen.
Note
SOAP API icons have an ‘S’ and REST an ‘R’ to differentiate them from each other.
Note
Once an API is created, the API Type cannot be edited or changed.
Next Steps
The next section covers the steps necessary to edit and configure API resources/operations and endpoints. You will learn to manage API Transformations, add an API Version and also set its Visibility.