3.32. Export and Import Data
You can export and import new and existing versions of Approved and Published data globally from the Export and Import menu. The menu allows the user to export Approved or Published artifacts, such as APIs, API Packs, Usage Policies, and other entities, such as Global Configurations, Gateway details and Backend Server data. You can do Global imports on artifacts that are in Published and Approved States, and on other entities, such as Gateways and Backend Server data. The user also has the option to select all artifacts; to export all of them at one time. For more information on exports and imports, refer: Exporting and Importing Data.
Note
DigitMarket™ API Manager does not allow export of Usage Plans.
Global Import Rules
- The store categories assigned to an API Pack at the time of export should be present in the import file.
- Backend should pre-exist for APIs in the import file.
You can do the import using the Full Import method that enables you to overwrite existing data or use the Delta Import option that retains the existing information and only updates new data that is present in the imported file.
In the case of Delta import, the import makes changes to Approved or Published artifacts and other entities as below:
- If an artifact/entity with a same name and version is found in the imported file, and the data in the imported file has changed, the changes are added to the existing data in the artifact.
- If an artifact/entity with a new name or a new version is found the same is added to the portal instance.
- If an artifact/entity name and version, which is present in the application but is not found in the imported file, the artifact is left untouched.
The exported file is saved in a Zip file with the base name as export.
Global export has a master folder, which contains one subfolder each for each artifact type, For example: API, API Pack, Policy, Backend, etc. The specific artifact instance is placed inside the corresponding artifact parent folder and the content within the folder is as specified for the list export.
The master folder is in a zipped format. The Zip file contains a folder structure as shown in the figure below:

Fig. 3.599 Folder structure
To learn more about export and import, refer the topic: Exporting and Importing Data
Common Tasks
Following common task is identified for this section:
Navigating to the Export & Import screen
To Navigate to the **Export & Import screen**:
- In the main Navigation menu, click Export & Import.
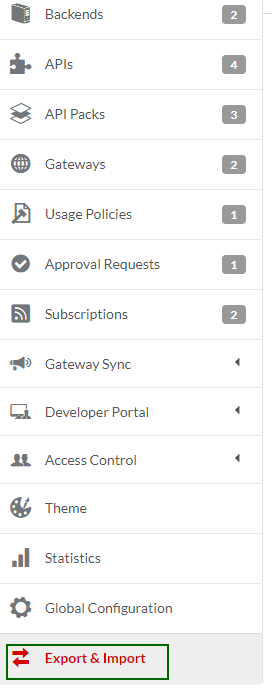
Fig. 3.600 Navigation menu - Export & Import
The Export & Import screen displays.
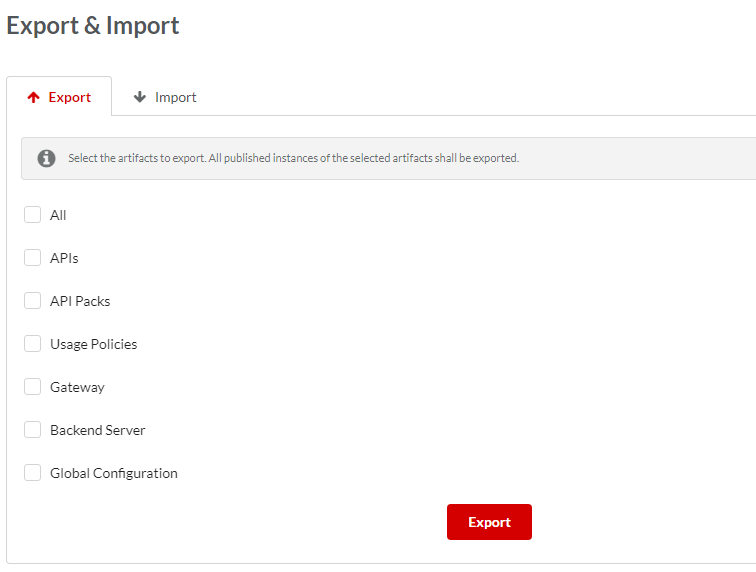
Fig. 3.601 Export & Import screen
To export Approved and Published artifacts, or other entities:
Navigate to the Export & Import screen.
Click the Export tab to display the Export tab screen.
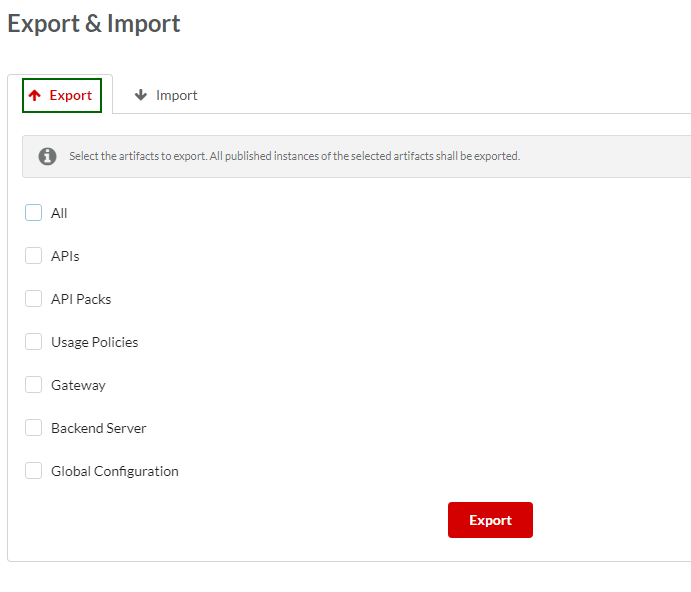
Fig. 3.602 Export tab screen
Click to select a check box(es) corresponding to the artifacts that you wish to export.
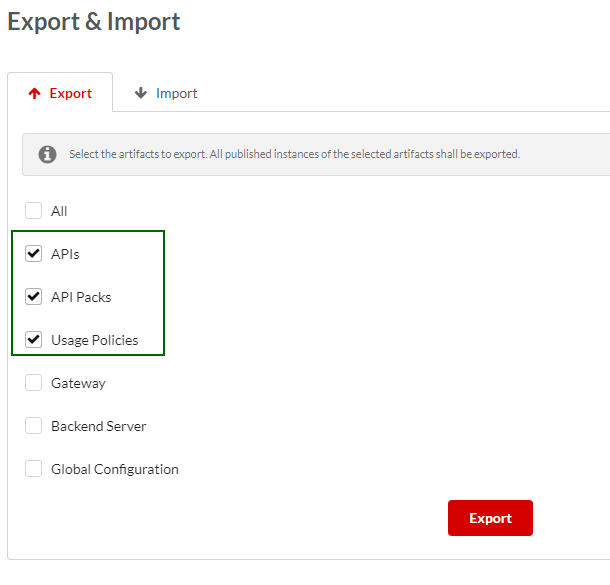
Fig. 3.603 Select artifacts to export
Alternatively, click All to select all the artifacts in one go.
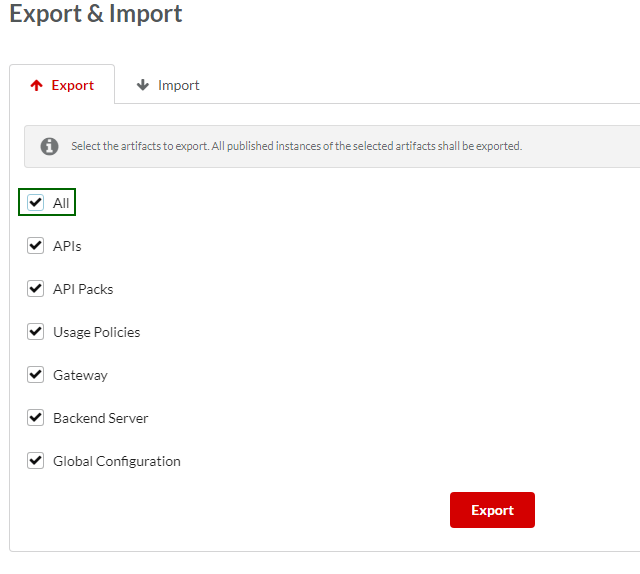
Fig. 3.604 Select all artifacts
Click Export to export the selected artifacts to your local computer. The exported file takes the file name as Export.zip.
To import and overwrite Approved or Published artifacts or other entities:
Navigate to the Export & Import screen.
Click the Import tab to display the Import tab screen.

Fig. 3.605 Import tab screen
Click to select the radio button Full Import to overwrite the existing Approved or Published artifacts or other entities. Since the imported file contains data from Approved or Published artifacts/other entities, all the Approved or Published artifacts and other entities are overwritten.
Click Import to start the import process.
To import new data while retaining the existing data:
Navigate to the Export & Import screen.
Click the Import tab to display the Import tab screen.
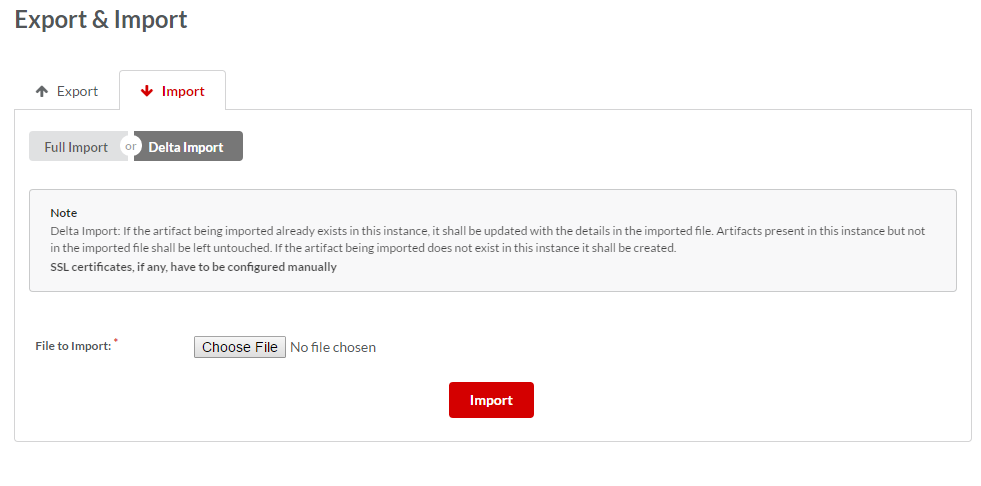
Fig. 3.606 Import tab screen
Click to select the radio button Delta Import to retain existing data and add only new data from the imported file.
Click Choose File against the File to Import field to choose a file to upload from your computer.
Browse your computer to locate the Zip file containing the data.json file.
Click Import to start the import process.