3.6. Export and Import APIs
You can export and import data from both new and existing versions of approved or published APIs. The exported file is saved in a Zip file (with an extension ‘zip’). The exported Zip file has a JSON file called data.json that contains the API data in JSON format.
There are two methods that you can use to export/import Approved or Published API data:
Individually from the API Configuration screen - Under this method, export/import can be done on an individual API version. Export can be done on an Approved or Published API version and import is allowed for all APIs with Published and Approved states. When you export an individual approved or published API, the exported Zip file has the format Export_API_000000XXXXX(API Name)_SOAP(Type)_date(dd_mm_yyyy)-time(hh_mm_ss) as the Zip file name.
The Zip file for export done for an individual API (from individual artifact configuration screens) has the structure as given below:
A master folder called ‘API’ with a subfolder named as the API type, i.e., REST or SOAP. The API type subfolder has the sub-folder named as the API name, which again has a sub-folder with the API version number. The API version sub-folder has the ‘data.json’ file with the API details and other supporting files like the YAML file (REST) or WSDL file (SOAP) depending on the API type. The master folder is in a zipped format.

Fig. 3.180 Folder structure
Collectively from the APIs List screen - Under this method, the user can export or import all approved and published APIs collectively. Data is stored into and retrieved from one composite file that holds data from all APIs. When you export all Approved and Published APIs collectively, the Zip file takes ‘Export’ as the base name and the file name is Export_API_ALL_date(dd_mm_yyyy)-time(hh_mm_ss).
The Zip file for collective export (from API list screen) has the structure as given below:
A master folder called ‘API’, which has a subfolder with the API type, i.e., REST or SOAP, which has one folder per API, and each API folder with one subfolder for each version. This version folder contains version-specific details. The master folder is in a zipped format.

Fig. 3.181 Folder structure
There are two methods that you can use to import Approved and Published APIs:
- Full Import - Full import enables you to override the existing data. Full import can be performed on new versions as well as existing versions. In case of existing versions, the existing data (artifacts) is deleted and replaced by the data in the imported file. In case of new versions, the full import action only consists of importing the newer versions of the same file.
- Delta Import - Delta import retains the existing data and only updates new data from the imported file. If the data being imported already exists in the instance, it is updated with the data in the imported file. Data not present in the existing file but present in the imported file, will be newly added. Data present in the existing file, but not in the imported file, shall remain unaffected. Delta import can be done only on existing versions.
To learn more about export and import, refer the topic: Exporting and Importing Data
Common Tasks
Following are the common tasks identified in this section:
- Navigating to the APIs screen
To navigate to the APIs screen:
In the main navigation menu, click APIs.
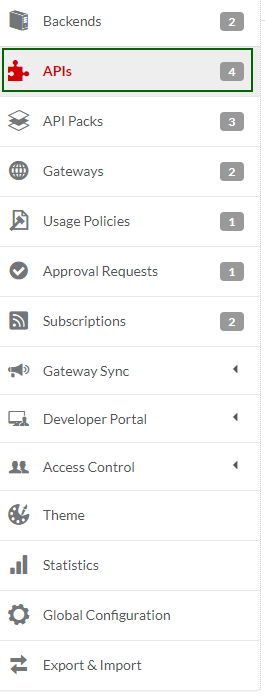
Fig. 3.182 Navigation menu
The APIs screen displays.
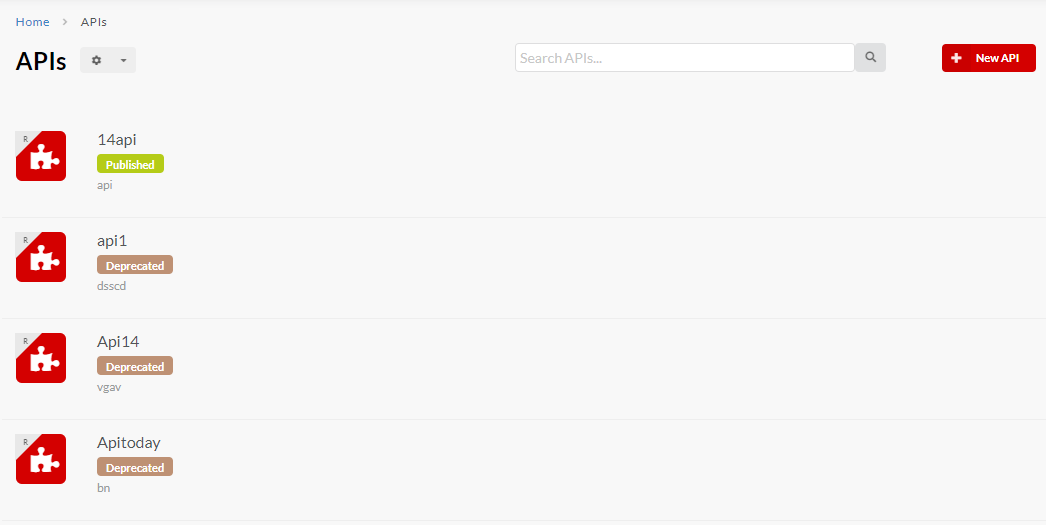
Fig. 3.183 APIs screen
To export data from an Approved or Published API:
Navigate to the APIs screen.
In the APIs screen, click the row that has the Approved or Published API for which you want to have data exported. The API Configuration screen displays.
Click the Action icon
 to display the API Action menu.
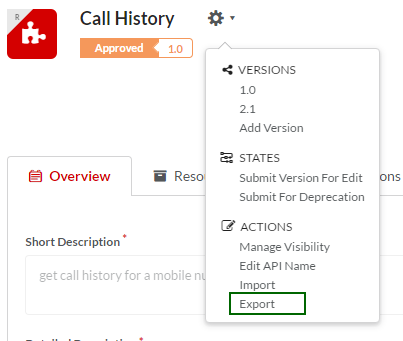
Fig. 3.184 API action menu
In the API Action menu, click Export. The Export Versions dialog box displays.
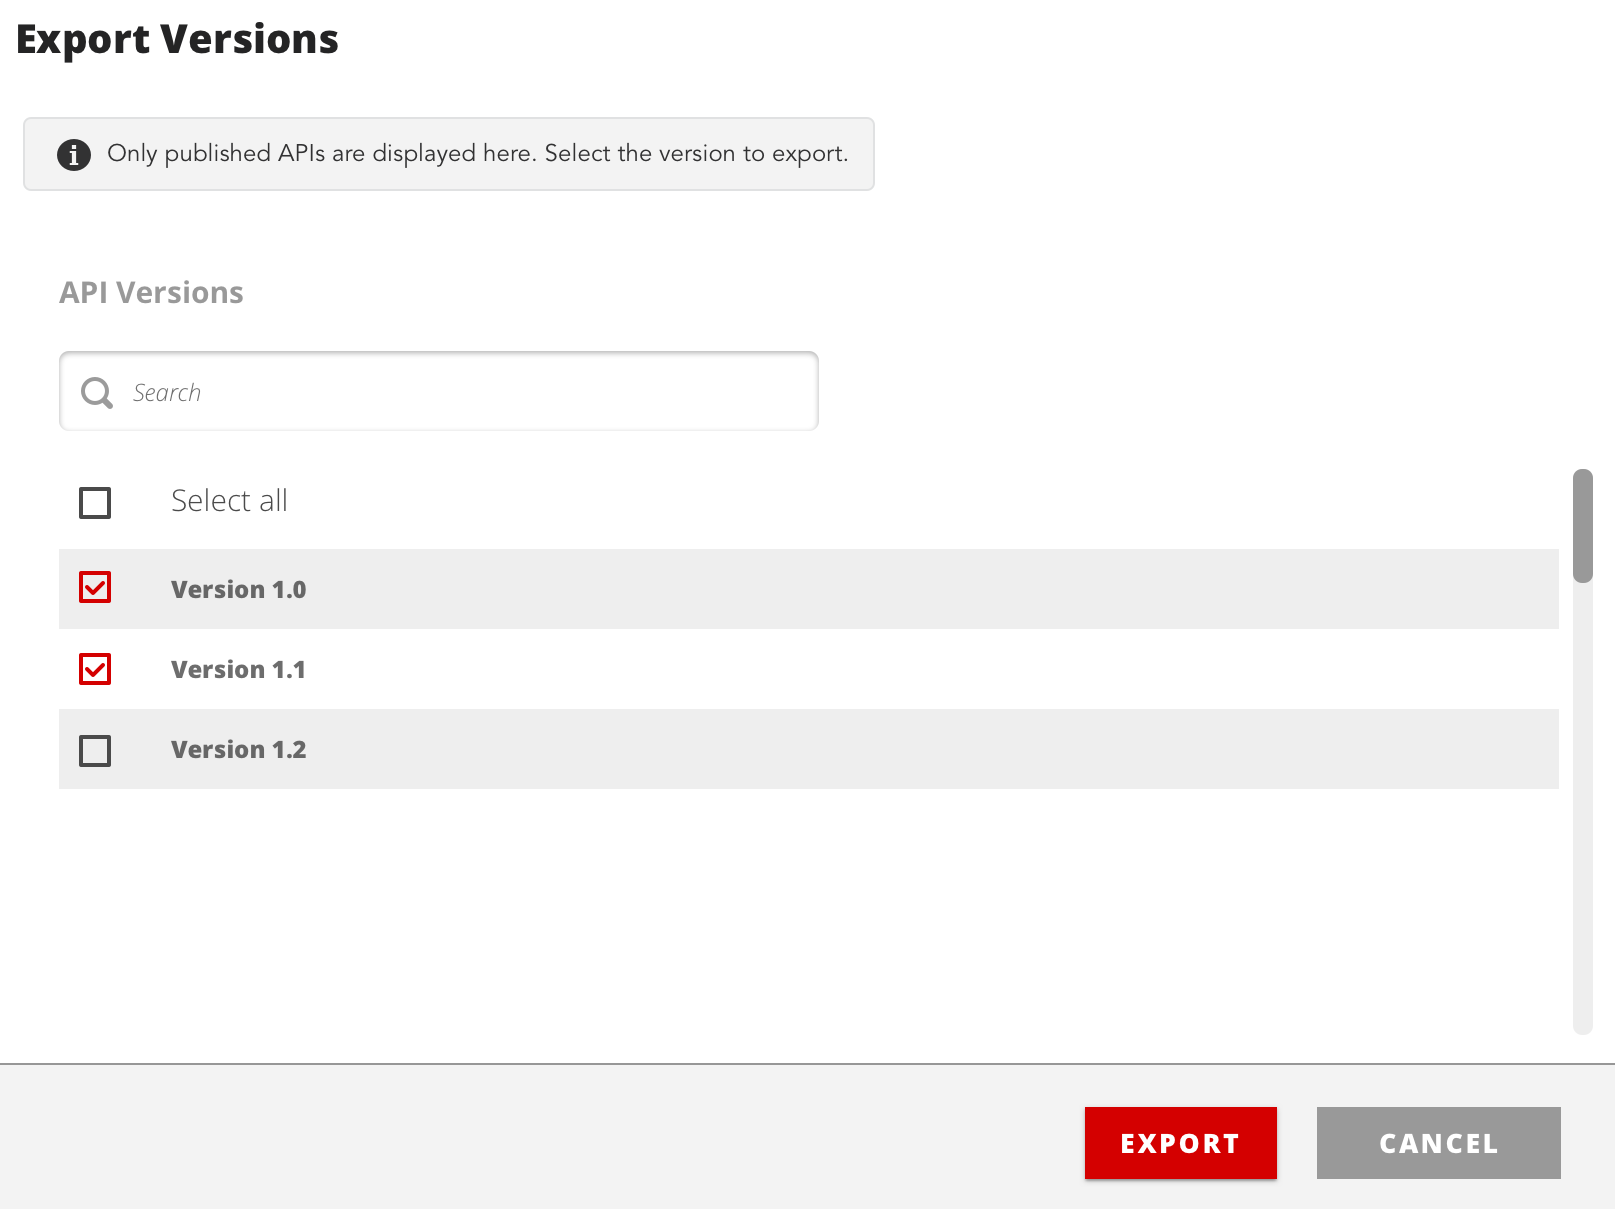
Fig. 3.185 API action menu
The Export Versions dialog box displays the list of available API versions that can be exported. Use the search box to search for the required version number or browse through the list using the vertical scroll bar. Use the check box to select the required version numbers. You can select single, multiple or all version numbers on which you want to export.
Click the corresponding check box to select the required version numbers which you want to export. Click Select all to select all the version numbers at one go.
Click Export to export data on Approved or Published APIs to a Zip file, which has ‘Export’ as the default base name, so the Zip file has the name Export.zip.
To export data from all Approved and Published APIs:
Navigate to the APIs screen.
In the APIs screen, click the Action icon
. The API Export/Import menu displays.
Fig. 3.186 API Export/Import menu
In the menu that appears, click Export. The Export Versions dialog box displays.
Fig. 3.187 API action menu
The Export Versions dialog box displays the list of available API versions that can be exported. Use the search box to search for the required version number or browse through the list using the vertical scroll bar. Use the check box to select the required version numbers. You can select single, multiple or all version numbers on which you want to export.
Click the corresponding check box to select the required version numbers which you want to export. Click Select all to select all the version numbers at one go.
Click Export to export data from all Approved and Published APIs to a Zip file named API.zip.
To import data for an Approved or Published API:
Navigate to the APIs screen.
In the APIs screen, click the row that has the Approved or Published API for which you want to import API data. The API Configuration screen displays.
Click the Action icon
to display the API Action menu.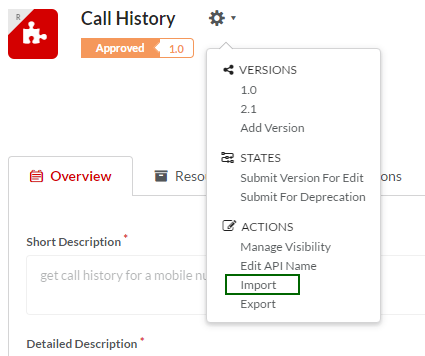
Fig. 3.188 API Action menu
In the API Action menu, click Import to display Import API Version Details dialog box.
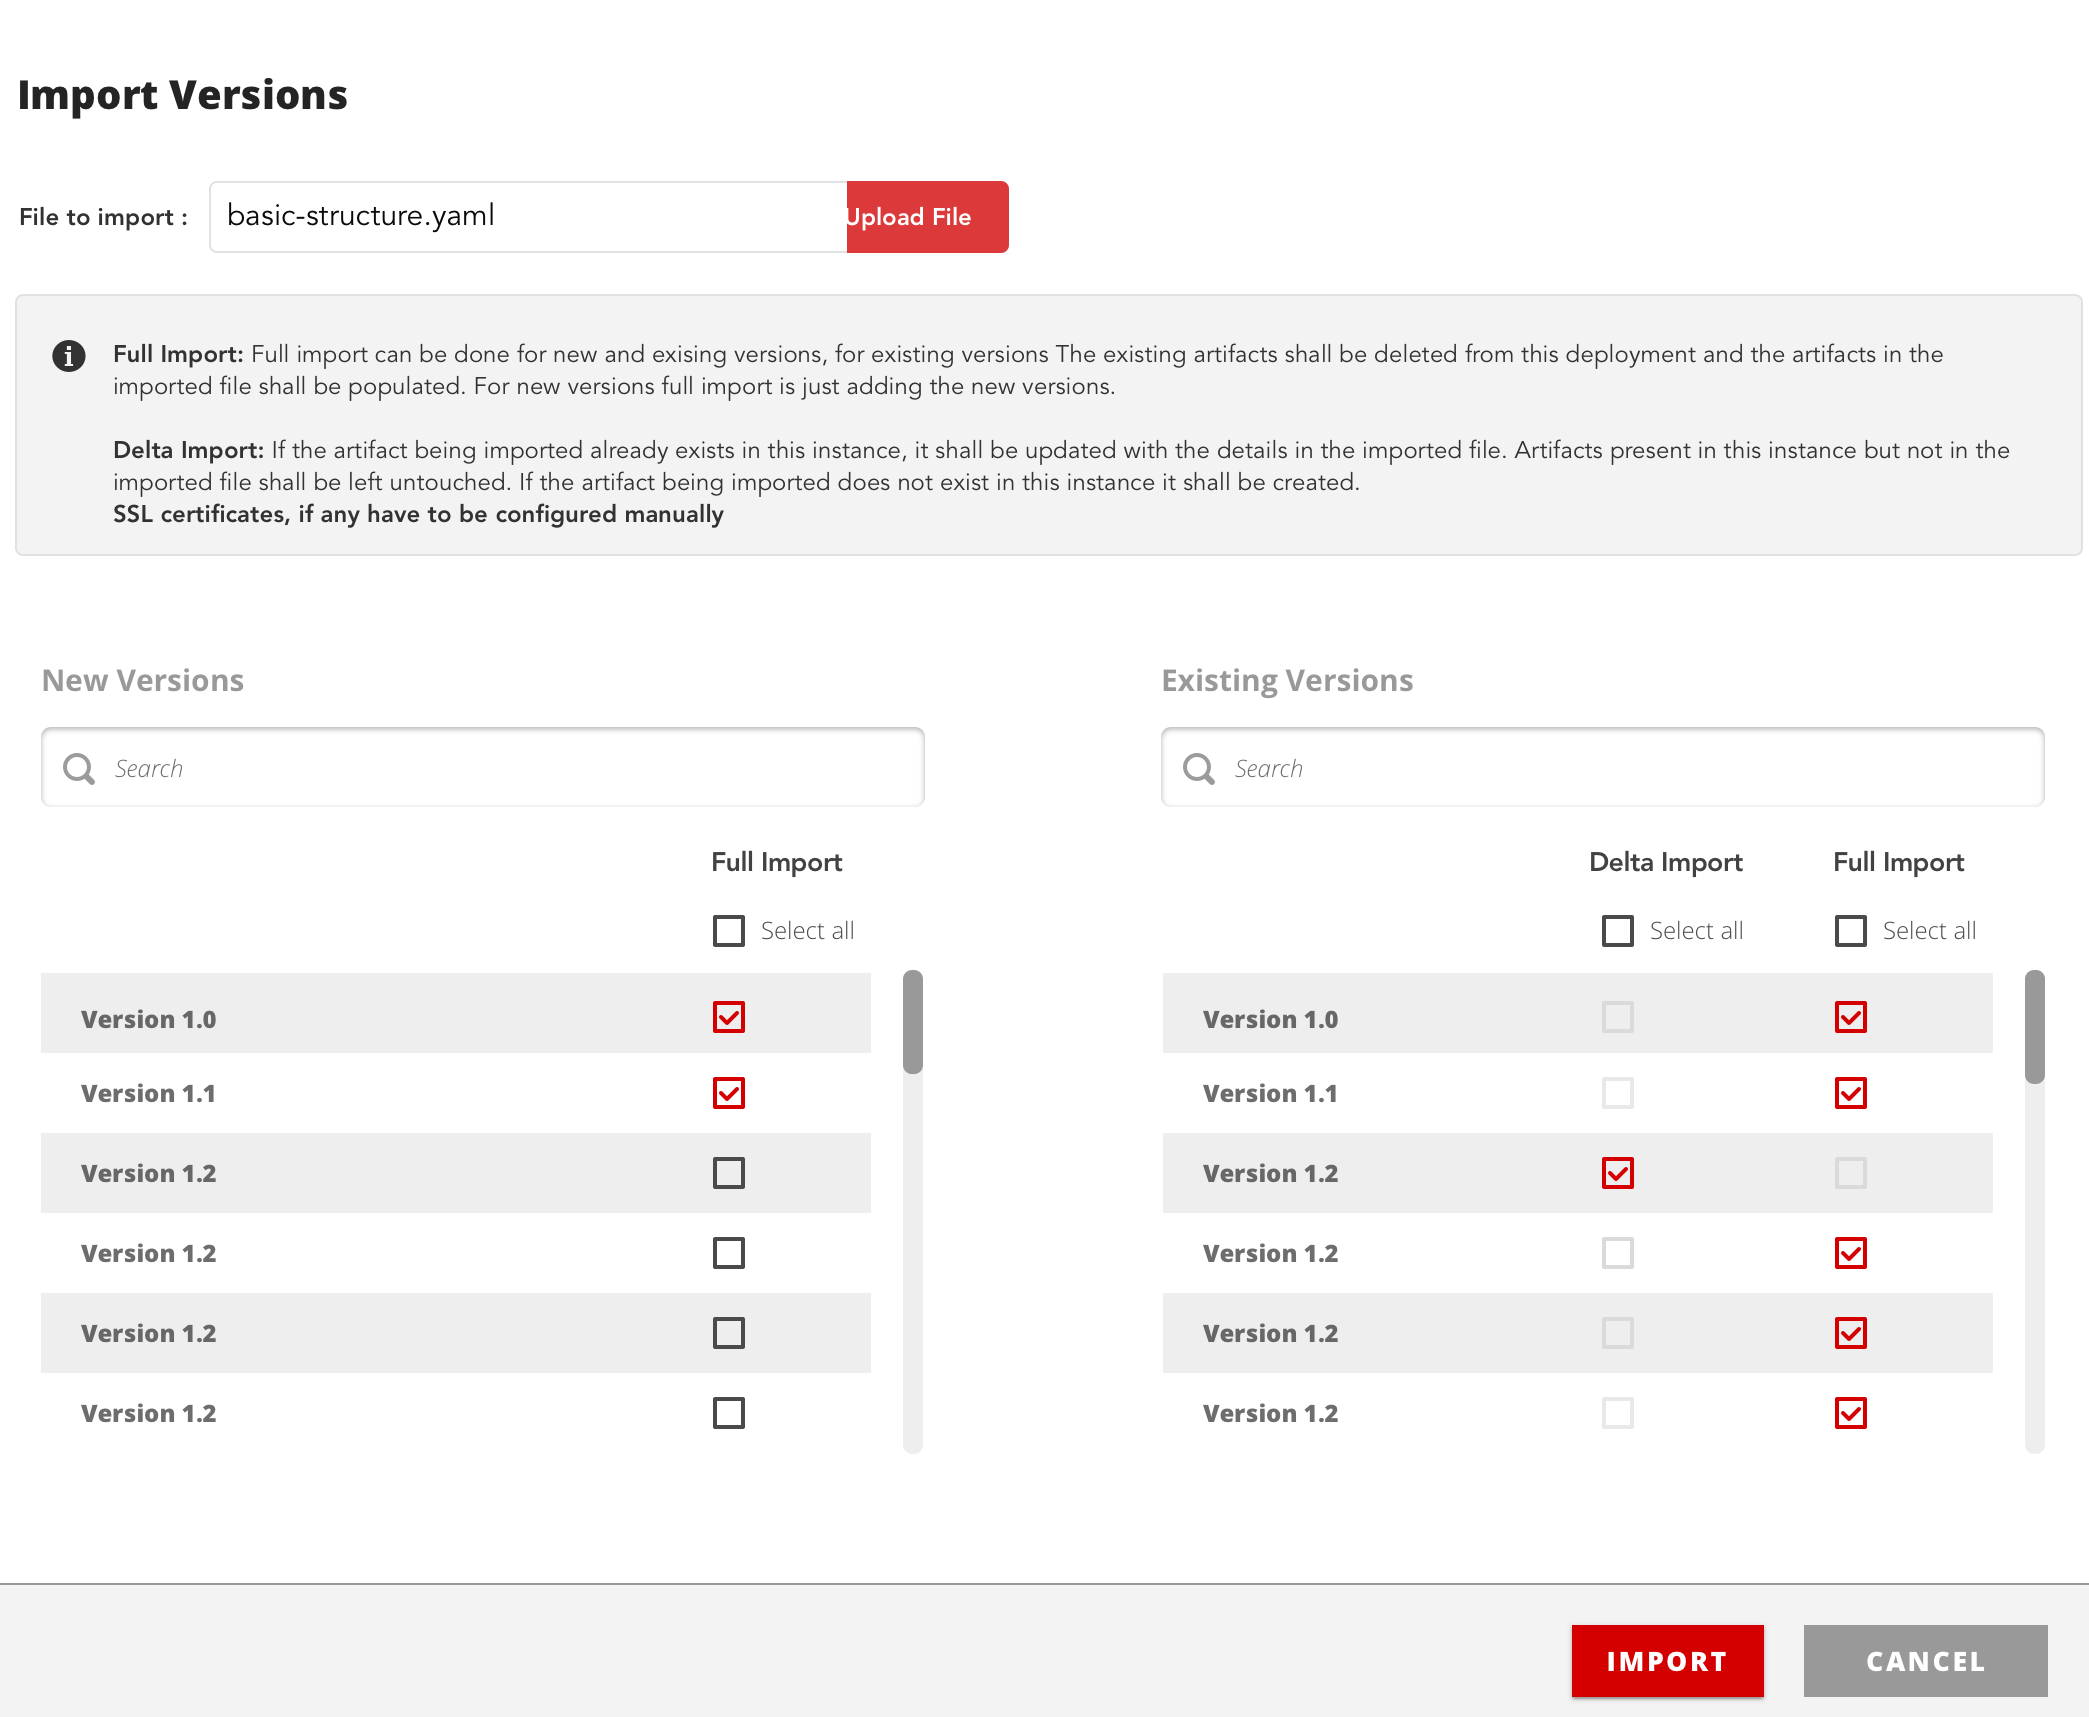
Fig. 3.189 Import API Version Details
The Import API Version Details dialog box displays two separate sections to distinguish between the new and existing versions of the API. You can view the list of available versions numbers under both new and existing versions. Use the search box to search for the required version number or browse through the list using the vertical scroll bar. Use the check box to select the required version number. You can select single, multiple or all version numbers on which you want to perform full/delta import.
There are two methods that you can use to import Approved and Published APIs:
- Full Import - Full import enables you to override the existing data. Full import can be performed on new versions as well as existing versions. In case of existing versions, the existing data (artifacts) is deleted and replaced by the data in the imported file. In case of new versions, the full import action only consists of importing the newer versions of the same file.
- Delta Import - Delta import retains the existing data and only updates new data from the imported file. If the data being imported already exists in the instance, it is updated with the data in the imported file. Data not present in the existing file but present in the imported file, will be newly added. Data present in the existing file, but not in the imported file, shall remain unaffected. Delta import can be done only on existing versions.
To learn more about export and import, refer the topic: Exporting and Importing Data
Note
The Export File name will be in the format Export_API_000000XXXXX(API Name)_SOAP(Type)_date(dd_mm_yyyy)-time(hh_mm_ss).
Note
You can perform delta import only on existing versions of the API, while full import can be done on both new and existing versions.
Click Upload File against File to import field to choose a file to import data from.
Browse your computer to locate and open the Zip file that contains data.json with API details in JSON format. Once you have chosen the file, the file name displays alongside the Upload File button.
Click the corresponding check box to select the required version numbers on which you want to perform full/delta import. Click Select all to select all the version numbers at one go.
Click Import to start importing the API data. The API data is overridden or added based on the type of import you have selected.
Note
The Export File name will be in the format Export_API_ALL_date(dd_mm_yyyy)-time(hh_mm_ss).
To import data for all Approved and Published APIs:
Navigate to the APIs screen.
In the APIs screen, click the Action icon
. An API Export/Import menu displays.
Fig. 3.190 API Export/Import menu
In the menu that appears, click Import to display Import API Details dialog box.
Fig. 3.191 Import API Version Details
The Import API Version Details dialog box displays two separate sections to distinguish between the new and existing versions of the API. You can view the list of available versions numbers under both new and existing versions. Use the search box to search for the required version number or browse through the list using the vertical scroll bar. Use the check box to select the required version number. You can select single, multiple or all version numbers on which you want to perform full/delta import.
Note
You can perform delta import only on existing versions of the API, while full import can be done on both new and existing versions.
Click Upload File against File to import field to choose a file to import data from.
Browse your computer to locate and open the Zip file that contains data.json with API details in JSON format. Once you have chosen the file, the file name displays alongside the Upload File button.
Click the corresponding check box to select the required version numbers on which you want to perform full/delta import. Click Select all to select all the version numbers at one go.
Click Import to start importing the API data.
Note
The Import and Export menu options are available only when there are APIs in Published and Approved states.
Next Steps
In the next section, you’ll learn about how to delete an API.