3.19. Manage Publisher Users and Groups
DigitMarket™ API Manager enables you to manage Users and Groups that access the Publisher portal. You can add, edit or delete Users and Groups. You can assign Users to Groups and decide which Groups interact with what part(s) of the portal using the Manage Visibility option present in Action menus available on APIs, API Packs and Usage Plans configuration screens.
To learn more about the Visibility feature, refer: User Roles and Portal Visibility.
In this Section:
Before you begin:
- The Access Control menu item that is used to manage Publisher Users and Groups is available only to the business and admin-level users.
- The fields marked with asterisks are mandatory.
Common Tasks
Navigating to the Publisher Groups screen
To navigate to the Publisher Groups screen:
- In the main Navigation menu, click Access Control.
- In the sub-menu that appears, click Publisher Groups.
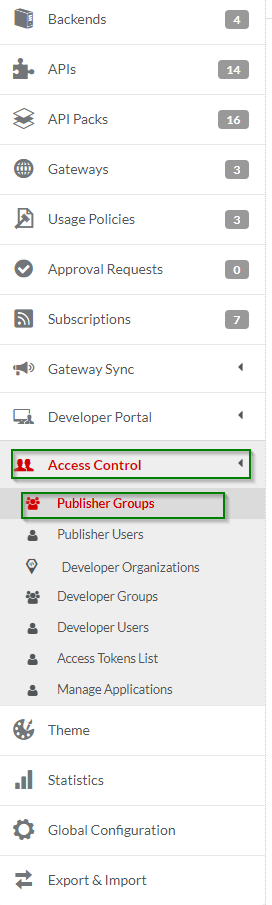
Fig. 3.414 Publisher Groups sub-menu
The Publisher Groups screen displays.
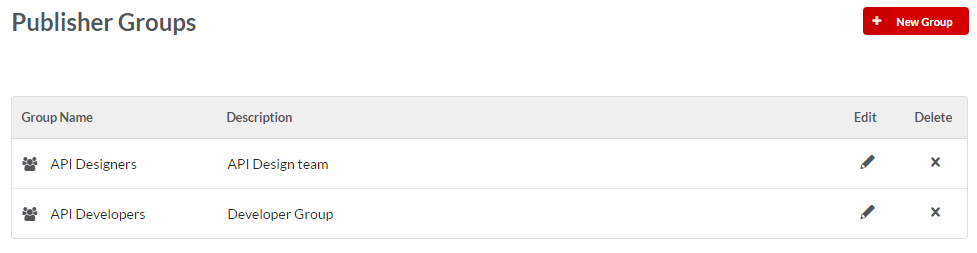
Fig. 3.415 Publisher Groups screen
Navigating to the Publisher Users screen
To navigate to the Publisher Users screen:
- In the main Navigation menu, click Access Control.
- In the sub-menu that appears, click Publisher Users.
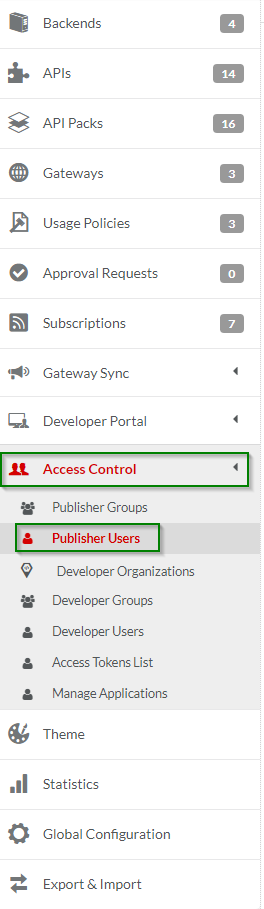
Fig. 3.416 Publisher Users sub-menu
The Publisher Users screen displays.
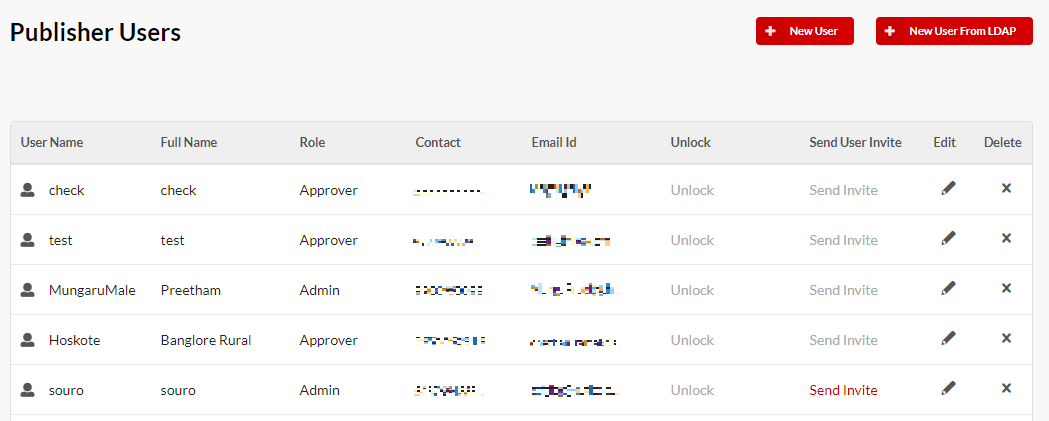
Fig. 3.417 Publisher Users screen
3.19.1. Manage Publisher Groups
To add a Publisher Group:
Navigate to the Publisher Groups screen. The current list of Groups under Publisher Groups displays.
Click Add Group. The Add Publisher Group dialog box displays.
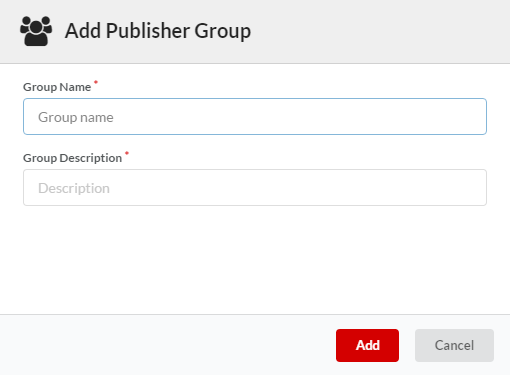
Fig. 3.418 Add Publisher Group dialog
In the Group Name box, type the Group name.
In the Group Description box, type a description for the Group.
Click Add to finish adding the group to the Publisher Groups List.
To edit a Publisher Group:
Navigate to the Publisher Groups screen. The current list of Groups displays.
In the row that has the Publisher Group that you want to edit, click the edit icon
 . The Edit Publisher Group dialog box displays.
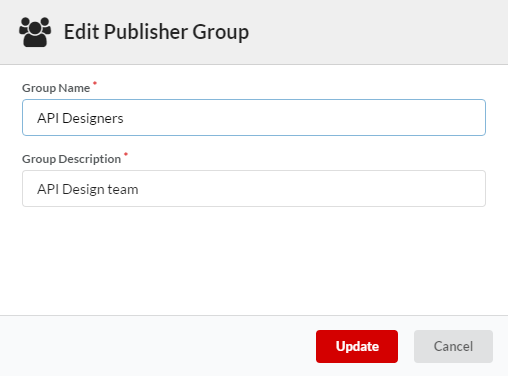
Fig. 3.419 Edit Publisher Group dialog
Make changes and click Update to update the Group details.
To delete a Publisher Group:
Navigate to the Publisher Groups screen. The current list of Groups displays.
In the row that has the Publisher Group that you want to delete, click the delete icon
 . The Group is removed from the Publisher Groups List.
Note
You are allowed to delete a publisher Group only if the Group does not have visibility for any of API, API Packs, or Usage Plans. For more information on visibility, visit: User Roles and Portal Visibility.
3.19.2. Manage Publisher Users
To add a Publisher User:
Navigate to the Publisher Users screen. The current list of users under the heading Publisher Users displays.
Click New User at the top right-hand corner of the Publisher Users screen. The Add Publisher User dialog box displays.
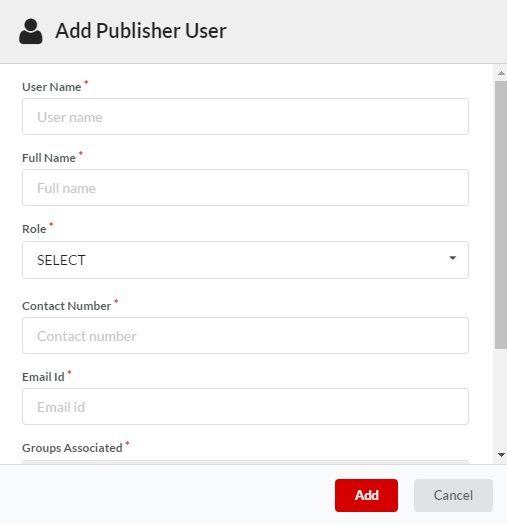
Fig. 3.420 Add Publisher User dialog
Fill the New Publisher User details in the respective boxes. In the Role field, click to select Admin, Approver, Business or Technical from the drop-down list.
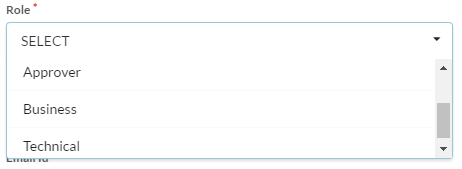
Fig. 3.421 Publisher User Roles
Select Groups Associated check box to assign Users to Groups.
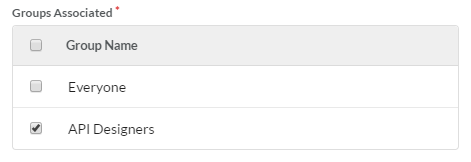
Fig. 3.422 Assign Users to Groups
Click Add to finish adding the User to the Publisher Users List. An email notifying the on-boarding of the Publisher User is sent to the specified email recipients.
Adding Publisher users via LDAP
DigitMarket™ API Manager allows you to add users via LDAP only when LDAP support is enabled. Accordingly, the New User from LDAP button becomes available only when LDAP is enabled.
Note
Refer the installation guide to enable LDAP from the properties files.
To add a Publisher User from LDAP:
Navigate to the Publisher Users screen (main menu> Access Control > Publisher Users). The current list of Publisher Users displays under Publisher Users.
Click New User From LDAP. The Add user from LDAP dialog box displays.
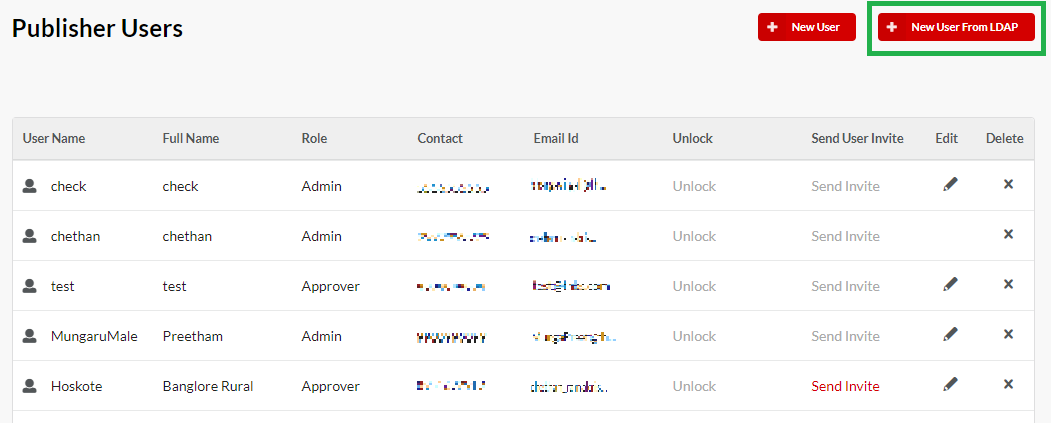
Fig. 3.423 Add Publisher User from LDAP button
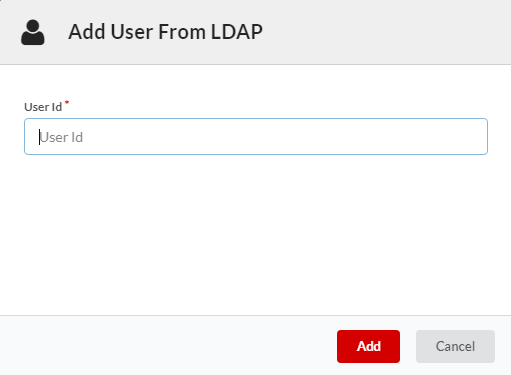
Fig. 3.424 Add Publisher User from LDAP dialog
In the User Id box, type in the User ID of the LDAP user that you wish to add.
Click Add to finish adding the LDAP user to the Publisher Users list.
The newly added LDAP user is added to the Publisher Users list.
If the “Fetch Role from LDAP” plugin is enabled and the value for Role fetched from LDAP matches with any one of the following: “Admin”, “Approver”, “Technical” or “Business”, the user is created and the fetched role assigned.
Note
- To learn how to write and configure the LDAP plugin, refer the “Fetch Roles from LDAP” Plugin Guide.
- If the “Fetch Role from LDAP” plugin is not enabled, the user data except Role information is fetched from LDAP and stored in native database, and the user is given the inactive status; in which case the user is not allowed to log in until the Role is assigned from the Publisher Users screen.
- If the role fetched returns a null or empty string from LDAP, the user will be created without any role assigned to the user. If there is no role found or invalid role is returned for a user account, the user account is given an inactive status.
For more information about adding Publisher users via LDAP, visit: LDAP support
To edit a Publisher User:
Navigate to the Publisher Users screen. The current list of Publisher Users displays.
In the row that has the Publisher User you want to edit, click the edit icon
. The Edit Publisher user dialog box displays.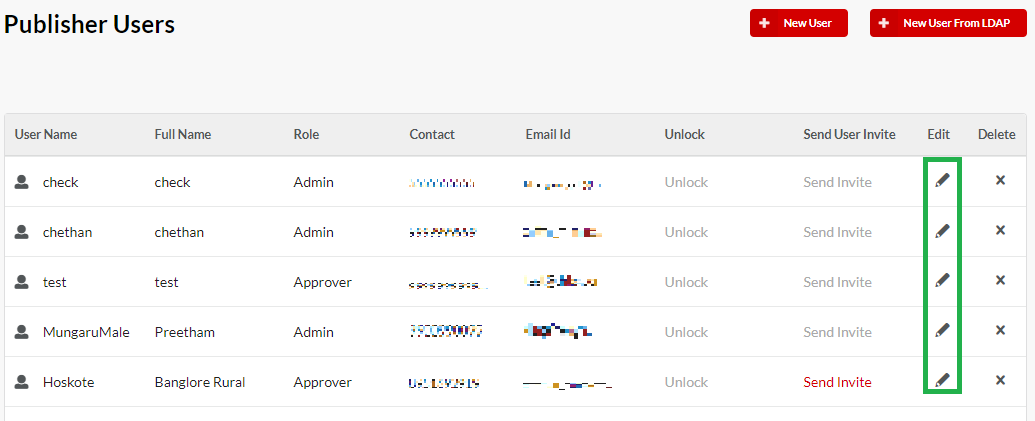
Fig. 3.425 Edit Publisher user dialog
Make the needed changes and click Update to update the user details.
To unlock a locked Publisher User:
While logging in, a Publisher user’s account can get locked out if the user has made three unsuccessful attempts. A locked out user is not permitted to log in again. You can unlock a locked Publisher user by completing the steps below:
Navigate to the Publisher Users screen.
The current list of Publisher Users displays. All locked out Publisher users have the Unlock option enabled whereas all other users have the Unlock option disabled.
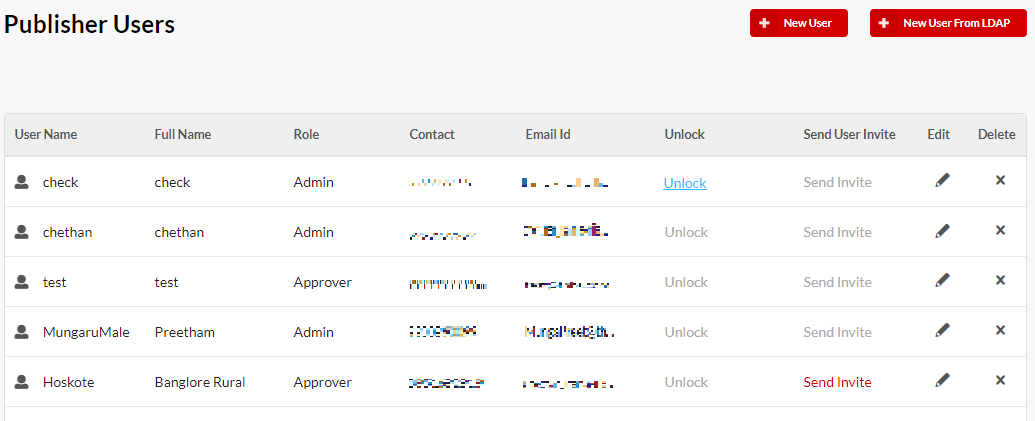
Fig. 3.426 Publisher users screen
In the row that has the Publisher User you want to unlock, click Unlock. The user account is unlocked and the user can again log in to the portal.
To send user invite to a first-time Publisher User:
When a Publisher User is created from the Publisher Users screen, an invite mail will be sent to their registered email id. The invite will contain the user’s username, a randomly-generated password and a link to update the password. Sometimes this first-time Publisher user may not be able to update their password before the link in the invite expires. In such cases, they will not be able to login to the application unless they reset their Publisher portal password using the link. You can resend the link to such users using the Send Invite button.
Navigate to the Publisher Users screen. The current list of Publisher Users displays.
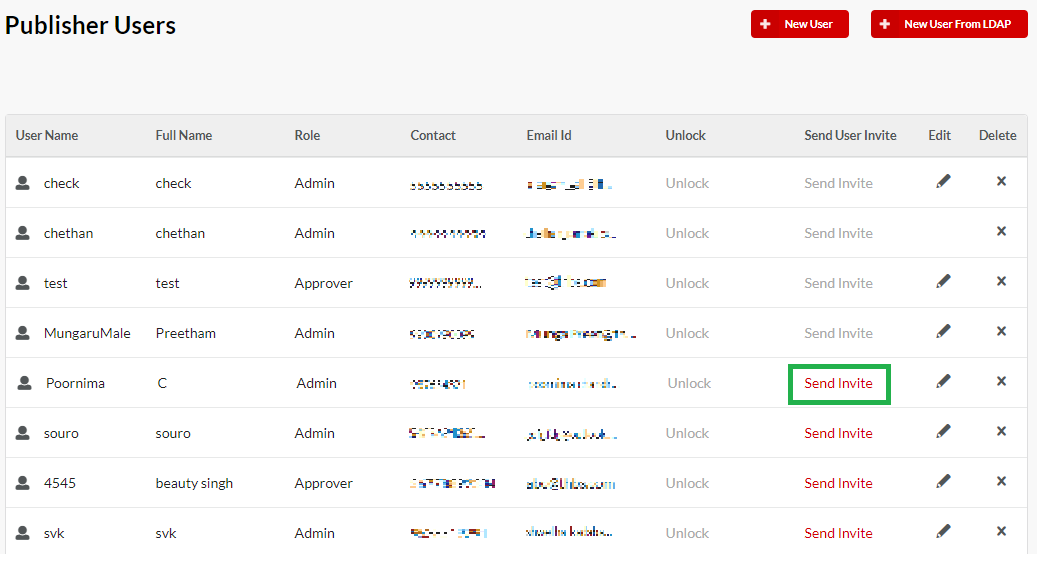
Fig. 3.427 Publisher users screen
Click the Send Invite option against the first-time user whose link has expired. The invite mail will be sent to their registered email id.
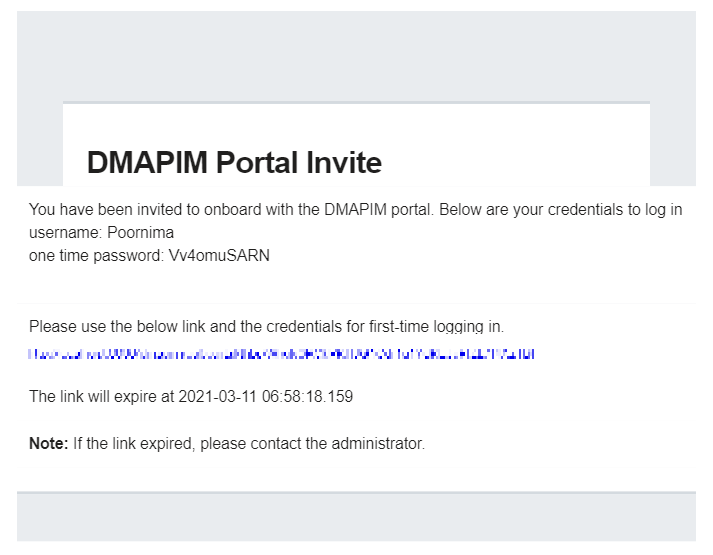
Fig. 3.428 Publisher onboard mail
Note
- The Send Invite option will be disabled until the invite link expires.
- Send Invite option will be available only for Admin users.
To delete a Publisher User:
Navigate to the Publisher Groups screen. The current list of Publisher Groups displays.
In the row that has the Publisher User you want to delete, click the delete icon
. The user is removed from the Publisher Users List.Note
You are allowed to delete a publisher User only if the Group to which the User belongs does not have visibility for any of API, API Packs, or Usage Plans. For more information on visibility, visit: User Roles and Portal Visibility.
Next Steps
In the next section, you’ll learn how to manage Developer Users and Groups.