3.20. Manage Developer Users and Groups
DigitMarket™ API Manager enables you to manage the users of the Developer Portal, which includes Developer Organization, Developer Users and Developer Groups. You can add Developer Organizations having varied profiles, such as mobile start-ups, solopreneurs and other small businesses who are interested in developing apps. You can add any number of new developers and have Users and Groups under each of these Developer Organizations. You can assign Users to Groups and decide which Groups interact with what part(s) of the Developer portal.
In this section:
Before you begin:
- DigitMarket™ API Manager allows you to add any number of Developer Organizations. For each Developer Organization that you add, you can add any number of Developer Users. You should therefore first add a Developer Organization and then add a Developer User for that Developer Organization.
- The fields marked with asterisks are mandatory.
Common Tasks
Navigating to the Developer Organizations screen
To navigate to the Developer Organizations screen:
- In the main Navigation menu, click Access Control.
- In the sub-menu that appears, click Developer Organizations.
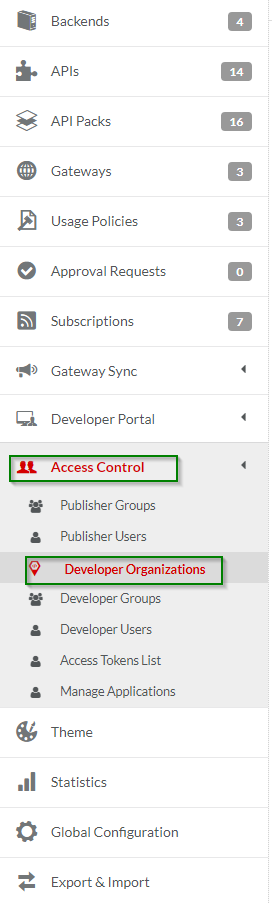
Fig. 3.429 Developer Organizations sub-menu
The Developer Organizations screen displays.
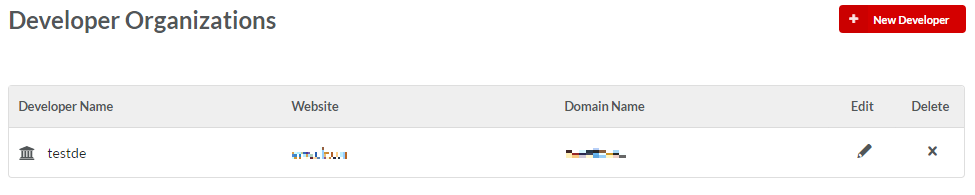
Fig. 3.430 Developer Organizations screen
Navigating to the Developer Groups screen
To navigate to the Developer Groups screen:
- In the main Navigation menu, click Access Control.
- In the sub-menu that appears, click Developer Groups.
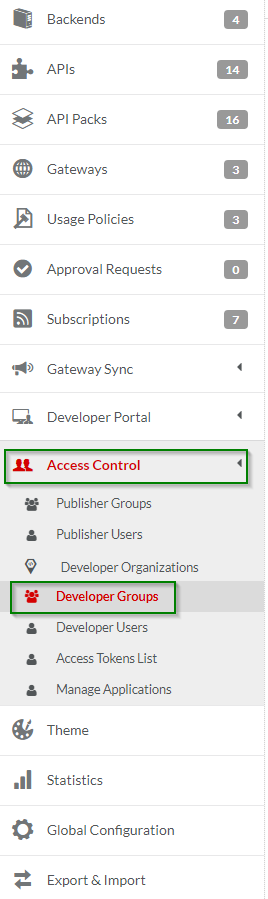
Fig. 3.431 Developer Groups sub-menu
The Developer Groups screen displays.

Fig. 3.432 Developer Groups screen
Navigating to the Developer Users screen
To navigate to the Developer Users screen:
- In the main Navigation menu, click Access Control.
- In the sub-menu that appears, click Developer Users.
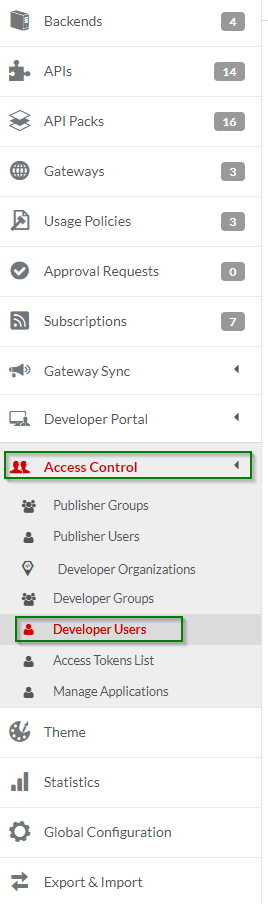
Fig. 3.433 Developer users sub-menu
The Developer Users screen displays.
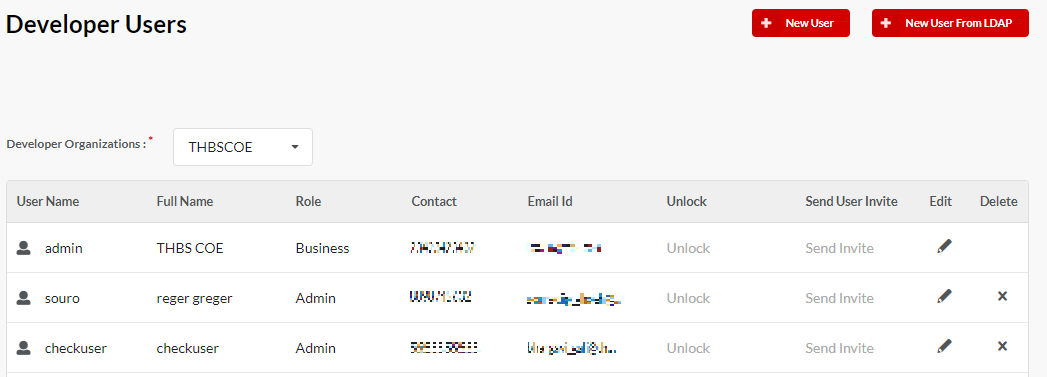
Fig. 3.434 Developer Users screen
3.20.1. Manage Developer Organizations
To add a Developer Organization:
Navigate to the Developer Organizations screen.
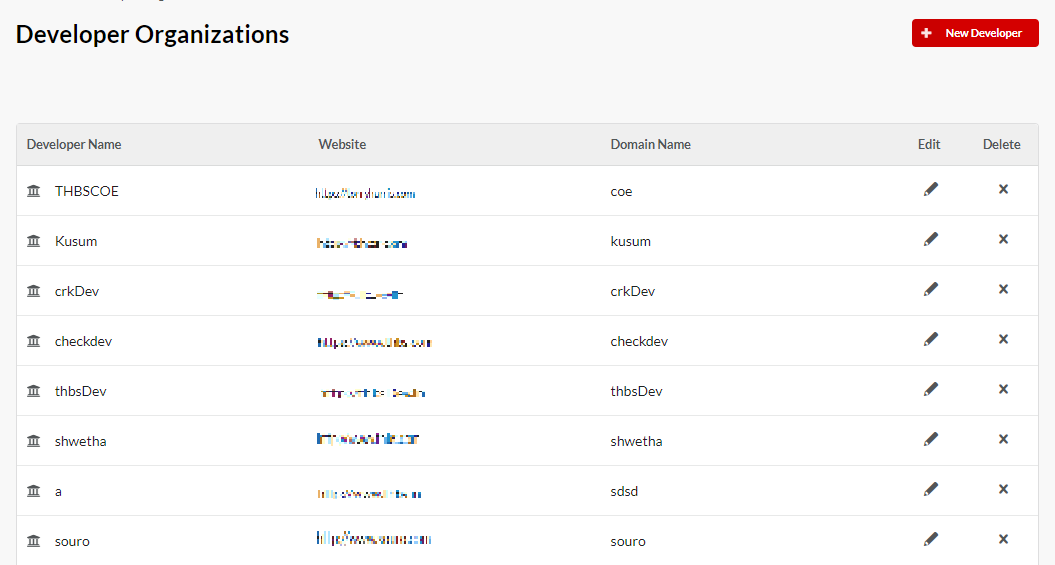
Fig. 3.435 Developer Organization
Click New Developer to add a new Developer Organization. The Add Developer Organization dialog box displays.
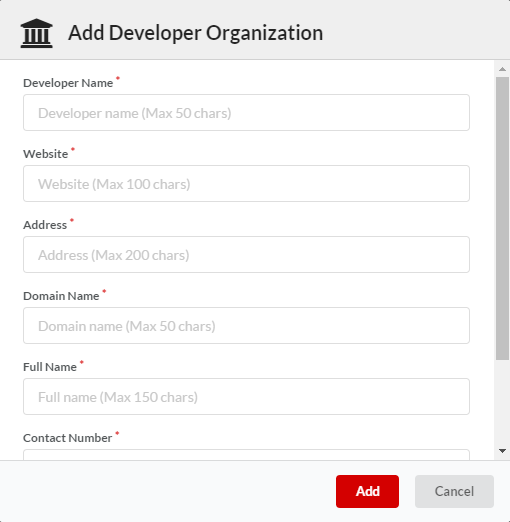
Fig. 3.436 Add Developer Organization dialog
In the Developer Name box, type the Developer Organization name. You can add a sub-organization name as a Developer name.
Fill in the other fields with relevant Organizational data.
Click Add to finish adding the Developer. The Developer name now displays in the Developer Organizations screen.
To edit a Developer Organization:
Navigate to the Developers screen.
In the row that has the Developer Organization that you want to edit, click the edit icon
 . The Edit Developer Organization dialog box displays.
Fig. 3.437 Edit Developer Organization dialog
You can make changes to : Developer Name and Website.
Under Display Order Settings section, you can change the display order settings that is visible in the Developer Portal API Store page.
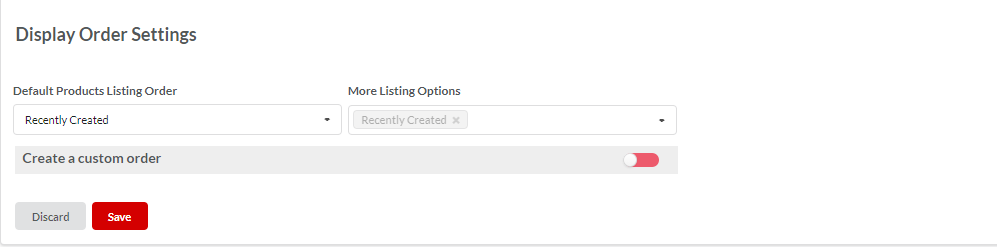
Fig. 3.438 Display Order Settings
- Default Products Listing Order: This is the default order in which the API packs will appear on the API Store page in the Developer portal.
To set the default products listing order, from the drop-down list, click to select the required listing order that will be set as default.
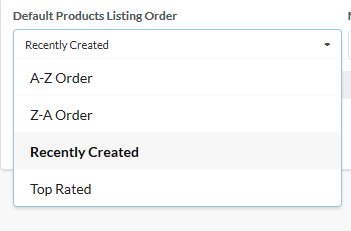
Fig. 3.439 Default Products Listing Order
More Listing Options: These many listing options will be available for the user to choose from in the Developer Portal API Store page.
To select the products listing options, from the drop-down list, select the required check-boxes. The items you select will be appear above the drop-down and the selected items can be removed by by clicking
 . Item selected in Default Products Listing Order drop-down will be selected by default.
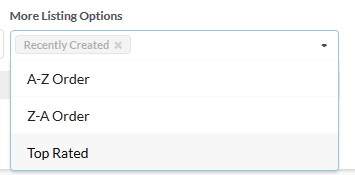
Fig. 3.440 More Listing Options
- Create a custom order: This allows you to create display orders of your choice that will appear under the Display order menu in the Developer Portal API Store page.
To enable this option, click the toggle button to turn it green. Inversely, click this toggle button again to disable this option.

Fig. 3.441 Custom Order
You can create your own orders by rearraning the tiles. Rearrange the tiles by clicking and then dragging the tile to the required position.
Click Save to save changes and close the dialog box.
To delete a Developer Organization:
- Navigate to the Developer Organizations screen.
- In the row that has the Developer that you want to delete, click the delete icon
 . The Developer organization is removed from the Developer Organizations screen.
3.20.2. Manage Developer Groups
To add a Developer Group:
Navigate to the Developer Groups screen. The current list of Developer Groups displays.
Click New Group. The Add Developer Group dialog box displays.
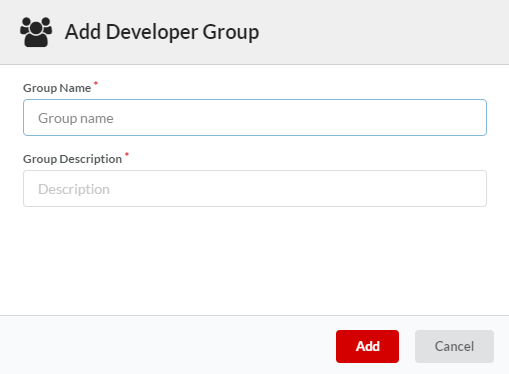
Fig. 3.442 Edit Developer Organization dialog
In the Group Name box, type the Group name.
In the Group Description box, type a description for the Group.
Click Add to finish adding the group to the Developer Groups screen.
To edit a Developer User Group:
Navigate to the Developer Groups screen. The current list of Developer Groups displays.
In the row that has the Developer Group that you want to edit, click the edit icon
. The Edit Developer Group dialog box displays.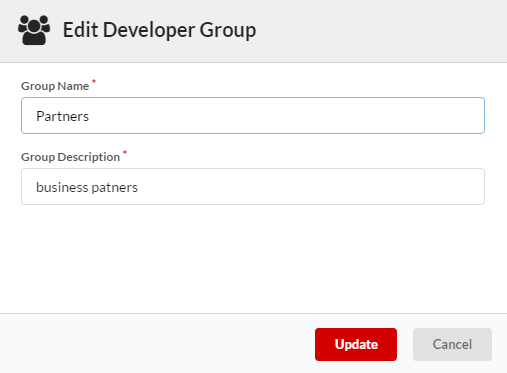
Fig. 3.443 Edit Developer Group dialog
Make the changes and click Update to save changes and update the Group details.
To delete a Developer User Group:
Navigate to the Developer Groups screen. The current list of Developer Groups displays.
In the row that has the Developer Group you want to delete, click the delete icon
. The group is removed from the Developer Groups screen.Note
You are allowed to delete a Developer User only if the Group to which the User belongs does not have visibility for any of API Packs, or Usage Plans. For more information on visibility, visit: User Roles and Portal Visibility.
3.20.3. Manage Developer Users
To add a Developer User:
Navigate to the Developer Users screen. The current list of Developer Users displays.
Click the Developer Organization drop-down list at the top of the screen to select the Developer Organization for which you want to add a user.
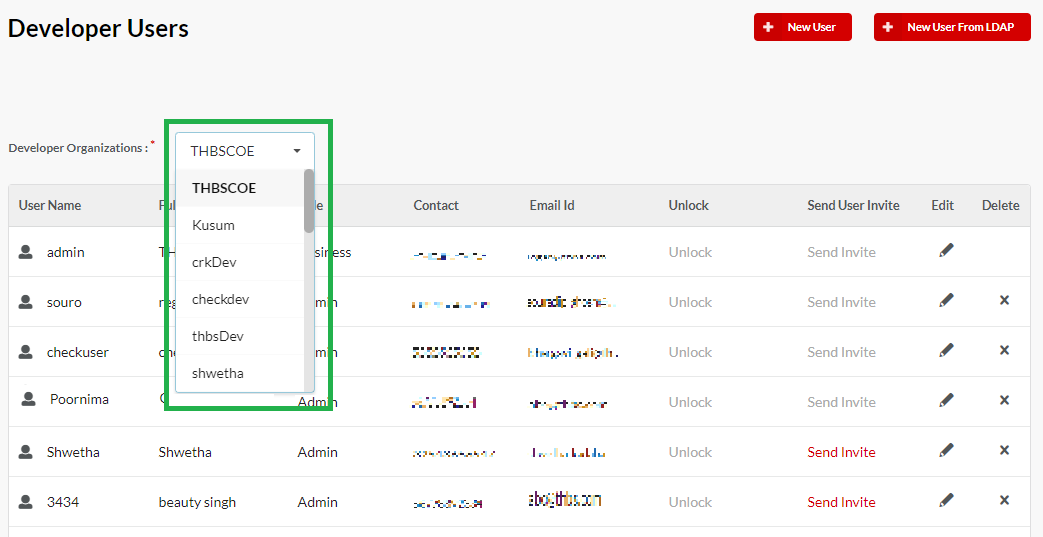
Fig. 3.444 Select Developer Organization
Click New User to display Add Developer User dialog box.
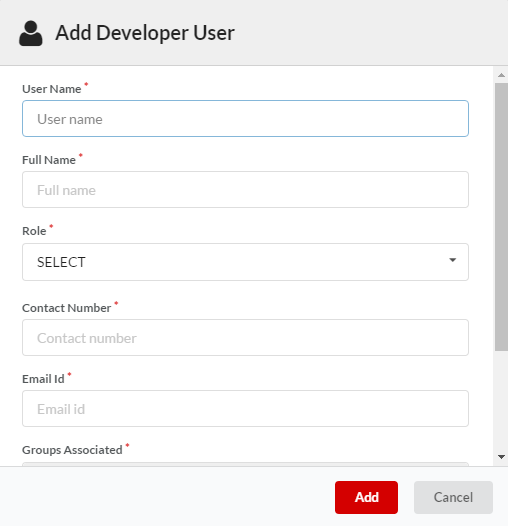
Fig. 3.445 Add Developer User dialog
Fill the New Developer user details in their respective boxes.
Select Admin, Business or Technical from the drop-down list for the Role field.
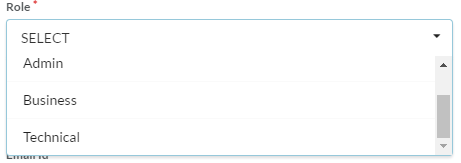
Fig. 3.446 Consumer user role
Click to select Groups Associated check box(es) for associating the New Developer User to Developer User Groups.
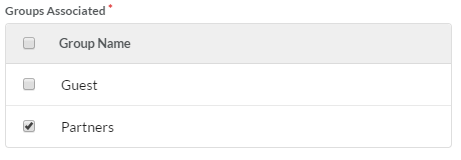
Fig. 3.447 Associating Developer User to User Groups
Click Add to finish adding the user to the Developer Users list.
Note
An email notifying the addition of the developer user is sent to the specified email recipients.
Note
The New User button is enabled only when there exists at least one Developer Sub-organization.
Adding Developer users via LDAP
DigitMarket™ API Manager allows you to add users via LDAP only when LDAP support is enabled. Accordingly, the New User from LDAP button becomes available only when LDAP support is enabled.
Note
Refer the installation guide to enable LDAP from the properties files.
To add a Developer User from LDAP:
Navigate to the Developer Users screen (main menu> Access Control > Developer Users). The current list of Developer Users displays under Developer Users.
Click New User From LDAP. The Add user from LDAP dialog box displays.
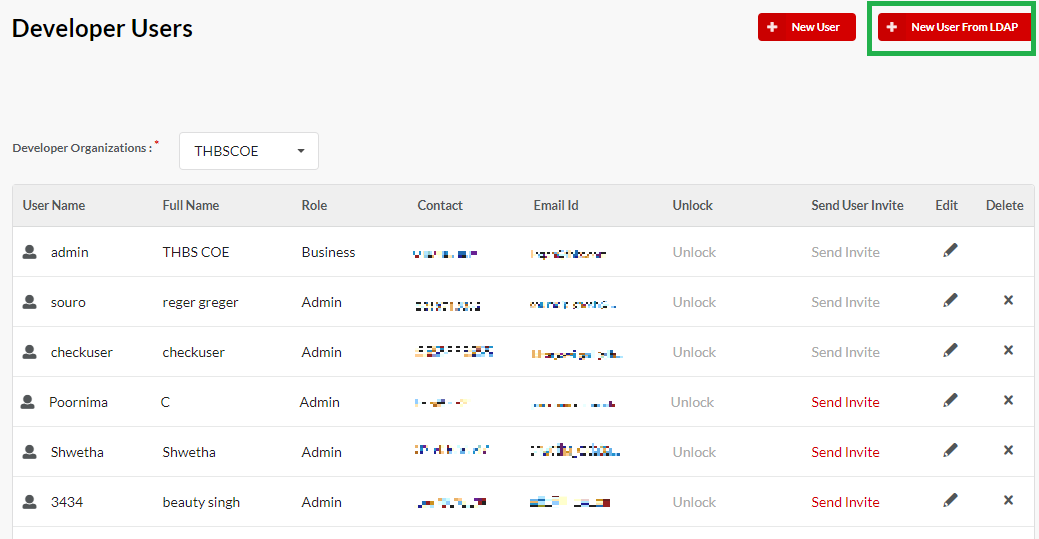
Fig. 3.448 Add Developer User from LDAP button
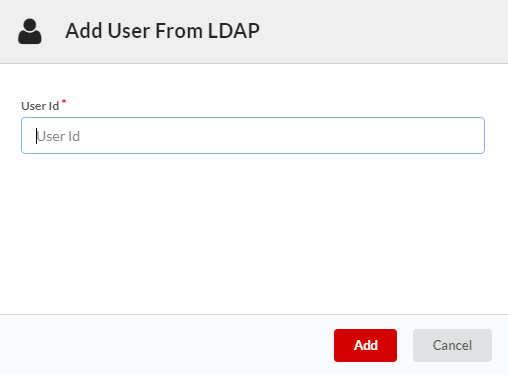
Fig. 3.449 Add Developer User from LDAP dialog
In the User Id box, type in the User ID of the LDAP user that you wish to add.
Click Add to finish adding the LDAP user to the Publisher Users list.
The newly added LDAP user is added to the Developer Users list.
If the “Fetch Role from LDAP” plugin is enabled and the value for Role fetched from LDAP matches with any one of the following: “Admin”, “Technical” or “Business”, the user is created and the fetched role assigned.
Note
- To learn how to write and configure the LDAP plugin, refer the “Fetch Roles from LDAP” Plugin Guide.
- If the “Fetch Role from LDAP” plugin is not enabled, the user data except Role information is fetched from LDAP and stored in native database, and the user is given the inactive status; in which case the user is not allowed to be logged in until the Role is assigned from the Publisher Users screen.
- If the Role fetched returns a null or empty string from LDAP, the user will be created without any role assigned to the user. If there is no Role found or invalid Role is returned for a user account, the user account is given an inactive status.
- The New User From LDAP button is enabled only when there exists at least one Developer Sub-organization.
For more information about adding Developer users via LDAP, visit: LDAP support
To send user invite to a first-time Developer User:
When a Developer User is created from the Developer Users screen, an invite mail will be sent to their registered email id. The invite will contain the user’s username, a randomly-generated password and a link to update the password. Sometimes this first-time Developer user may not be able to update their password before the link in the invite expires. In such cases, they will not be able to login to the application unless they reset their Developer portal password using the link. You can resend the link to such users using the Send Invite button.
Navigate to the Developer Users screen. The current list of Developer Users displays.
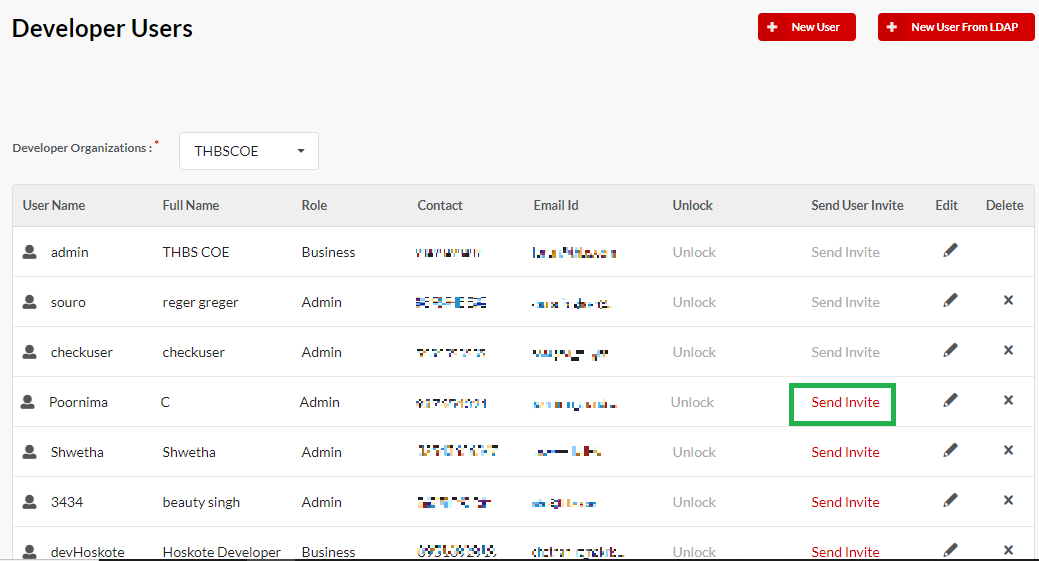
Fig. 3.450 Developer users screen
Click the Send Invite option against the first-time user whose link has expired. The invite mail will be sent to their registered email id.
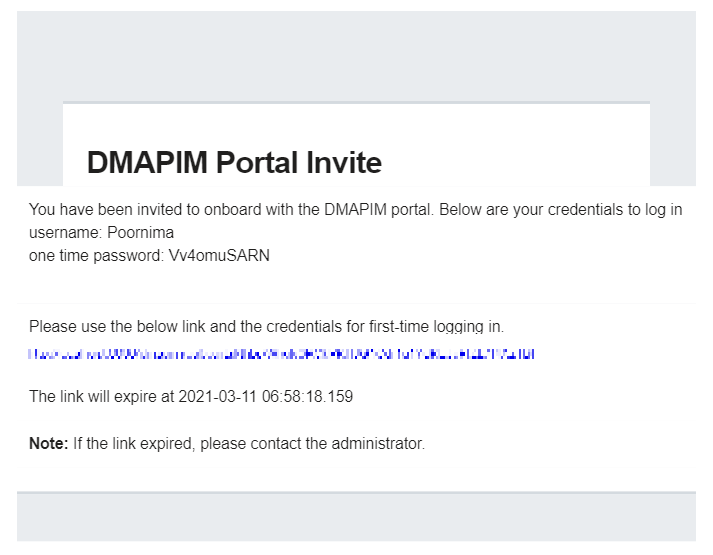
Fig. 3.451 Developer onboard mail
Note
- The Send Invite option will be disabled until the invite link expires.
- Send Invite option will be available only for Admin users.
To edit a Developer User:
Navigate to the Developer Users screen. The current list of Developer Users displays.
In the row that has the Developer User you want to edit, click the edit icon
. The Edit Developer User dialog box displays.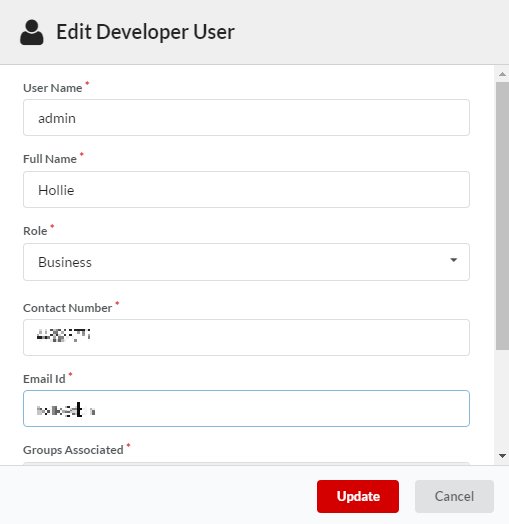
Fig. 3.452 Edit Developer User dialog
Make the changes and click Update to update the User details.
To delete a Developer User:
Navigate to the Developer Users screen. The current list of Developer Users displays.
In the row that has the Developer user you want to delete, click the delete icon
. The user is removed from the Developer Users screen.Note
You are allowed to delete a Developer User only if the Group to which the User belongs does not have visibility for any of API Packs, or Usage Plans. For more information on visibility, visit: User Roles and Portal Visibility.
Next Steps
In the next section, we’ll take you through the tasks related to configuring common developer portal URLs.